I somehow always seem to forget how to do this the simple way:
chmod -R ug+rw /yourfolderThis will change yourfolder permissions to 775 and all folders inside recursively to 775, but all files in the folder(s) will be set to 664.

collection
I somehow always seem to forget how to do this the simple way:
chmod -R ug+rw /yourfolderThis will change yourfolder permissions to 775 and all folders inside recursively to 775, but all files in the folder(s) will be set to 664.
Waydroid looked like excellent option to run Android apps on my Lenovo X240 running Linux Mint.
Because Waydroid is reliant on Wayland you need to use either KDE, Gnome or Sway Desktop Environment.
I am running Gnome and Waydroid works perfectly, but I wanted it to run in fullscreen. Unfortunately Waydroid key mapping is conflicting with Gnome F11 key to go fullscreen, so first thing you need to do is to re-map Gnome fullscreen key to something like Shift+F11 which can easily be done with gnome tweaks.
But once you get your Android app to run “fullscreen” you will notice that actual size of the drawn surface is still the one window started with:
erol@x240mint:~$ sudo waydroid shell wm size
Physical size: 1366x697
I wanted it shown in 1368×768 which is my native display resolution. To do this open terminal while Waydroid is running and do the following:
erol@x240mint:~$ waydroid prop set persist.waydroid.width 1366
erol@x240mint:~$ waydroid prop set persist.waydroid.height 768
erol@x240mint:~$ waydroid session stop
Now next time you run your Android app it is going to be rendered in native resolution.
erol@x240mint:~$ sudo waydroid shell wm size
Physical size: 1366x768Today I noticed CAPTCHA was not getting resolved in Jackett but without obvious reason. I thought that flaresolverr rlease I was using was outdated so I wanted to try to update it to latest one. First I have checked what I have running:
# docker ps
CONTAINER ID   IMAGE          COMMAND                  CREATED        STATUS        PORTS                    NAMES
f144c092302c   a88ebf3195a5   "/usr/bin/dumb-init …"   4 months ago   Up 10 hours   0.0.0.0:8191->8191/tcp   flaresolverr
Pulled new image:
docker image pull ghcr.io/flaresolverr/flaresolverr:latestChecked if the images are there:
# docker images
REPOSITORY                          TAG       IMAGE ID       CREATED        SIZE
ghcr.io/flaresolverr/flaresolverr   latest    5d07ec0ae1eb   4 weeks ago    574MB
ghcr.io/flaresolverr/flaresolverr   <none>    a88ebf3195a5   4 months ago   569MB
Stop and delete the container:
docker stop f144c092302c
docker rm f144c092302c
Once container has been stopped and deleted. I have started a new instance:
docker run -d --name=flaresolverr -p 8191:8191 -e LOG_LEVEL=info --restart unless-stopped ghcr.io/flaresolverr/flaresolverr:latest
Check if new container is running:
# docker ps
CONTAINER ID   IMAGE                                      COMMAND                  CREATED         STATUS        PORTS                              NAMES
e8ec7ca07cf3   ghcr.io/flaresolverr/flaresolverr:latest   "/usr/bin/dumb-init …"   3 seconds ago   Up 1 second   0.0.0.0:8191->8191/tcp, 8192/tcp   flaresolverr
Cleanup of the unused image:
# docker images
REPOSITORY                          TAG       IMAGE ID       CREATED        SIZE
ghcr.io/flaresolverr/flaresolverr   latest    5d07ec0ae1eb   4 weeks ago    574MB
ghcr.io/flaresolverr/flaresolverr   <none>    a88ebf3195a5   4 months ago   569MB

# docker image rm a88ebf3195a5

# docker images
REPOSITORY                          TAG       IMAGE ID       CREATED       SIZE
ghcr.io/flaresolverr/flaresolverr latest 5d07ec0ae1eb 4 weeks ago 574MBIf you are using GNU screen and you notice that while MC is showing in default blue color for root but not for the user the easy fix would be to try this:
TERMCAP='' /usr/bin/mc --skin=defaultIf this works for you and mc is showing in color then you can setup an alias in your .bashrc like:
alias mc='TERMCAP="" /usr/bin/mc --skin=default'do the reload of .bashrc with:
source .bashrcThen the next time you run mc from with your user it should be displayed in default color instead of black and white.
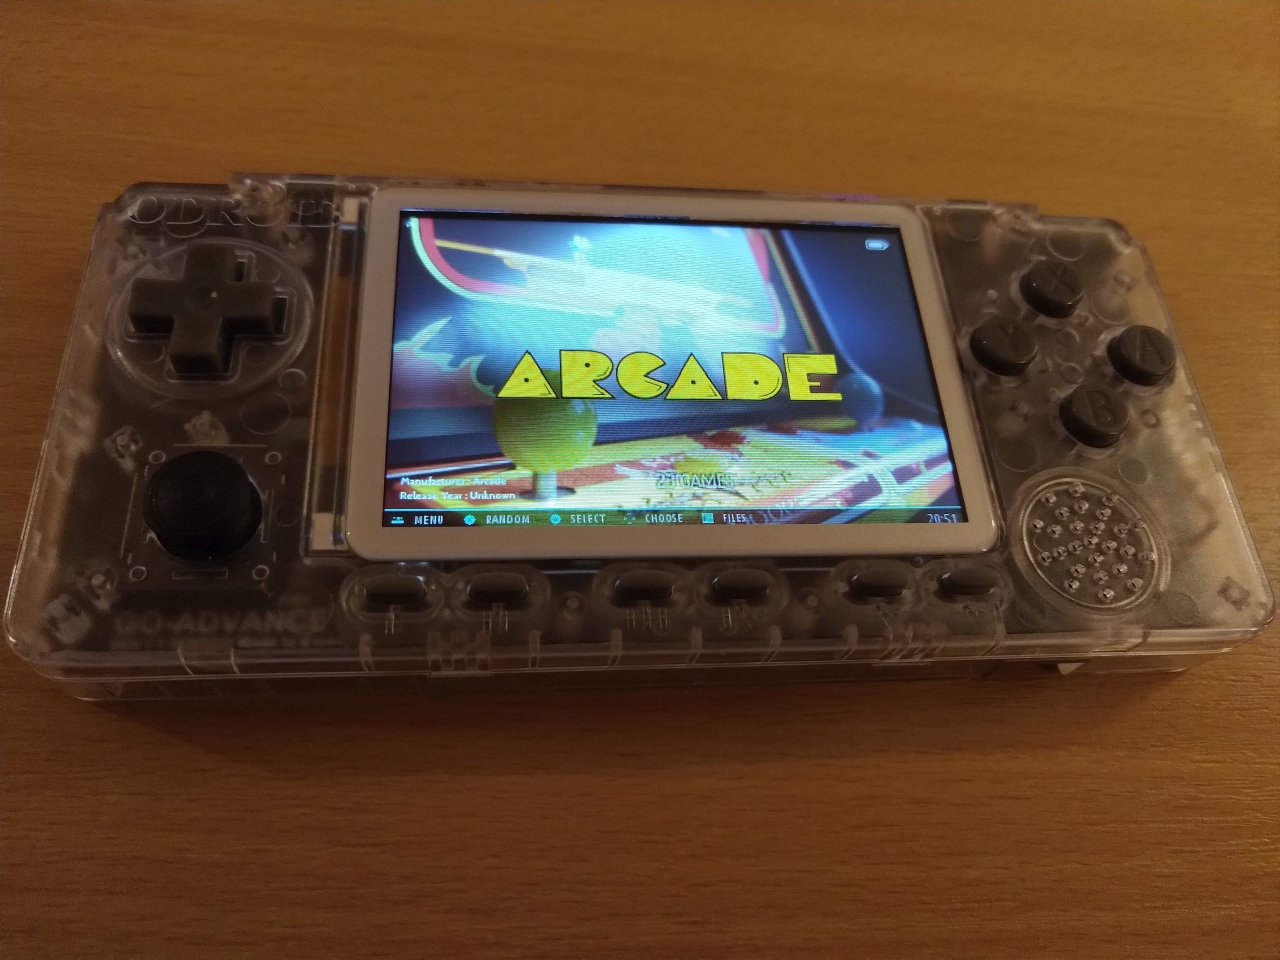
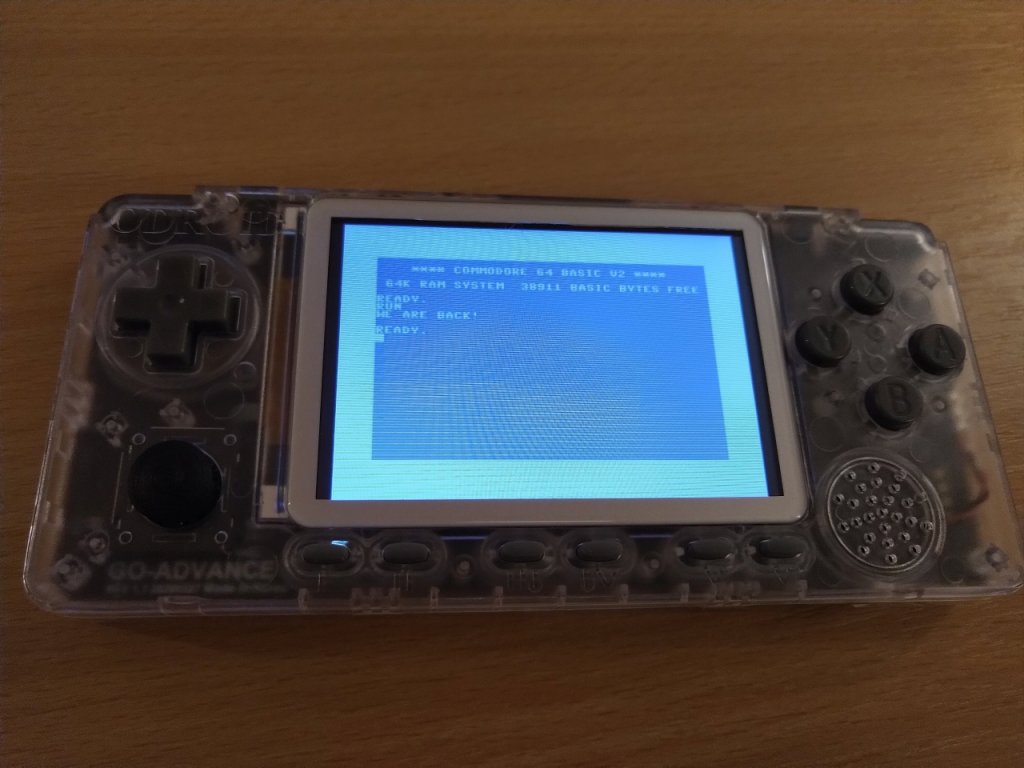
I ordered my Odroid Go Advance back in January 2020 and since it was sold out I had to wait couple months for new batch to be produced. It was well worth the wait because I got delivered the new BE (Black Edition) with added L2 and R2 buttons and WiFi which was great.
If you are interested in getting one I can recommend ameriDroid for their great service and customer communication. You can check it out on this link.
After some couple of months of use I noticed that the plastic lens protecting the LCD screen is getting these small scratches and smudges and it started to bother me.
I saw this video where this user replaced his plastic lens with glass one and I wanted to try the same but Amaozon links show that product was no longer available.
eBay came to the rescue and I found it at dazzlestore.2016 and I ordered the silver one I thought it would look cooler than the black frame.
I can not recommend this screen lens enough it is made of high quality glass with 2.5D polish so it looks really slick. Image quality is a lot better with this lens and viewing experience is greatly enhanced.
It’s fairly easy to replace it, you just need plastic suction to remove the existing plastic lens then you can peel off the adhesive and mount glass lens to your OGA.
The photo does not do the lens justice since it looks a lot better than the picture.